

Renew and Revive - Refinishing Baseboards for a Fresh Look
Explore the process of refinishing baseboards to give them a fresh and renewed appearance, revitalizing the overall look of your space.
BASEBOARDREFINISH
Kase Reis
3/4/20253 min read
Are your baseboards looking worn and dull? Do you want to revitalize the overall appearance of your home? Look no further! In this article, we will explore the process of refinishing baseboards, which can give them a fresh and renewed appearance, transforming the look and feel of your space.
Why Refinish Baseboards?
Baseboards are crucial in giving your home a polished and finished look. Over time, however, they can become scuffed, scratched, or faded due to everyday wear and tear. Refinishing baseboards is a cost-effective home improvement project that can breathe new life into your space without breaking the bank.
Assessing the Condition
Before you begin the refinishing process, it's important to assess the condition of your baseboards. Look for any damage, such as cracks, chips, or missing pieces. If you notice any significant issues, repairing or replacing your baseboards may be necessary before refinishing.
Gathering the Tools and Materials
To refinish your baseboards, you will need a few essential tools and materials:
Sandpaper: Choose a medium-grit sandpaper (around 120 grit) to remove any existing finish and smooth out imperfections.
Wood filler: This will come in handy for filling in any cracks or gaps in the baseboards.
Paint scraper: A scraper will help you remove any old paint or finish from the baseboards.
Primer: Applying primer will create a smooth surface for the new paint or stain to adhere to.
Paint or Stain: Choose a color or stain that complements your existing decor and personal preferences.
Paintbrushes and/or rollers: Use brushes for detailed work and rollers for larger surface areas.
Painter's tape: This will protect adjacent surfaces from accidental paint or stain splatters.
Dropcloth or plastic sheeting: Cover the floor to protect it from stray paint or stain.
Refinishing Process
Now that you have everything you need, let's dive into the refinishing process:
Step 1: Prepare the Baseboards
Start by removing any obstacles or furniture near the baseboards. This will make it easier to access and work on them. Clean the baseboards thoroughly to remove dust, dirt, and grime. You can use a damp cloth or a mild cleaner. Once they are clean and dry, use painter's tape to protect adjacent walls or flooring.
Step 2: Sand the Baseboards
Using the sandpaper, gently sand the surface of the baseboards to remove any existing finish, paint, or imperfections. Sand in the direction of the wood grain for a smoother result. Take care not to apply too much pressure, as this can damage the wood. After sanding, wipe away any dust with a clean cloth.
Step 3: Repair Damaged Areas
Inspect the baseboards again for any cracks, chips, or gaps. Apply wood filler to these areas, using a putty knife or your finger, depending on the size of the repair. Smooth out the filler and let it dry according to the manufacturer's instructions. Once dry, sand the repaired areas lightly to ensure a seamless finish.
Step 4: Apply Primer
Using a brush or roller, apply a coat of primer to the sanded and repaired baseboards. Priming is essential to create a smooth surface that helps the paint or stain adhere properly. Allow the primer to dry completely before moving on to the next step.
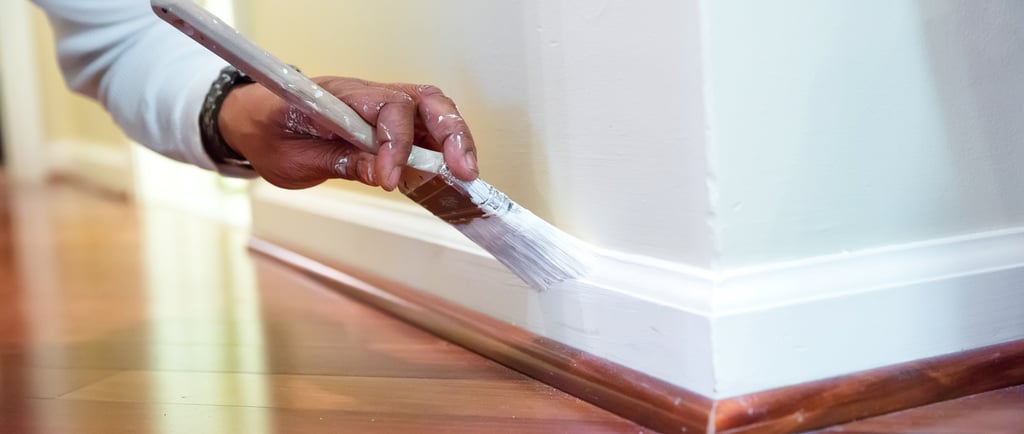
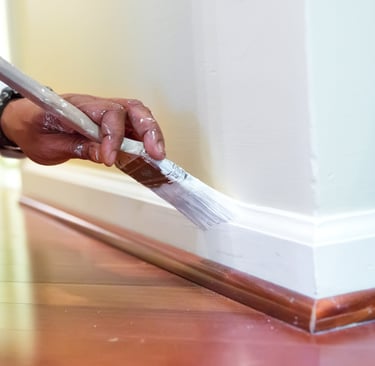
Step 5: Paint or Stain
Now comes the fun part - applying paint or stain to your baseboards! Choose a color or stain that complements your home's aesthetics. Apply the paint or stain evenly using a brush or roller. It's recommended to start from the top and work your way down for a neater finish. Wait for the first coat to dry before applying additional coats if needed.
Step 6: Finishing Touches
Once the final coat is dry, inspect the baseboards for any touch-ups or uneven spots. Use a small brush to fix any imperfections. Remove the painter's tape and clean up any stray paint or stain. Admire your newly refinished baseboards, and revel in the fresh and renewed look they bring to your space.
Maintaining Your Refinished Baseboards
To keep your refinished baseboards looking their best, follow these simple maintenance tips:
Regularly dust and clean the baseboards with a soft cloth or a gentle cleaner.
Avoid using abrasive or harsh cleaning products that can damage the finish.
Be cautious while vacuuming or mopping near the baseboards to prevent accidental scratches or chips.
Wipe away any spills or stains promptly to prevent them from seeping into the wood.
Conclusion
Refinishing your baseboards can be a rewarding and transformative home improvement project. By following the steps outlined in this article, you can renew the appearance of your baseboards and revitalize the overall look of your space. Whether you choose to paint or stain, the result will be a fresh and polished upgrade that enhances the beauty of your home. So why wait? Grab your tools, get started, and enjoy the renewed splendor of your beautifully refinished baseboards.